


Japanese Makeup - KATE 🎃Halloween and Fall 2017 Season Fad🎃
| Shopping | 2017.10.04 |
-
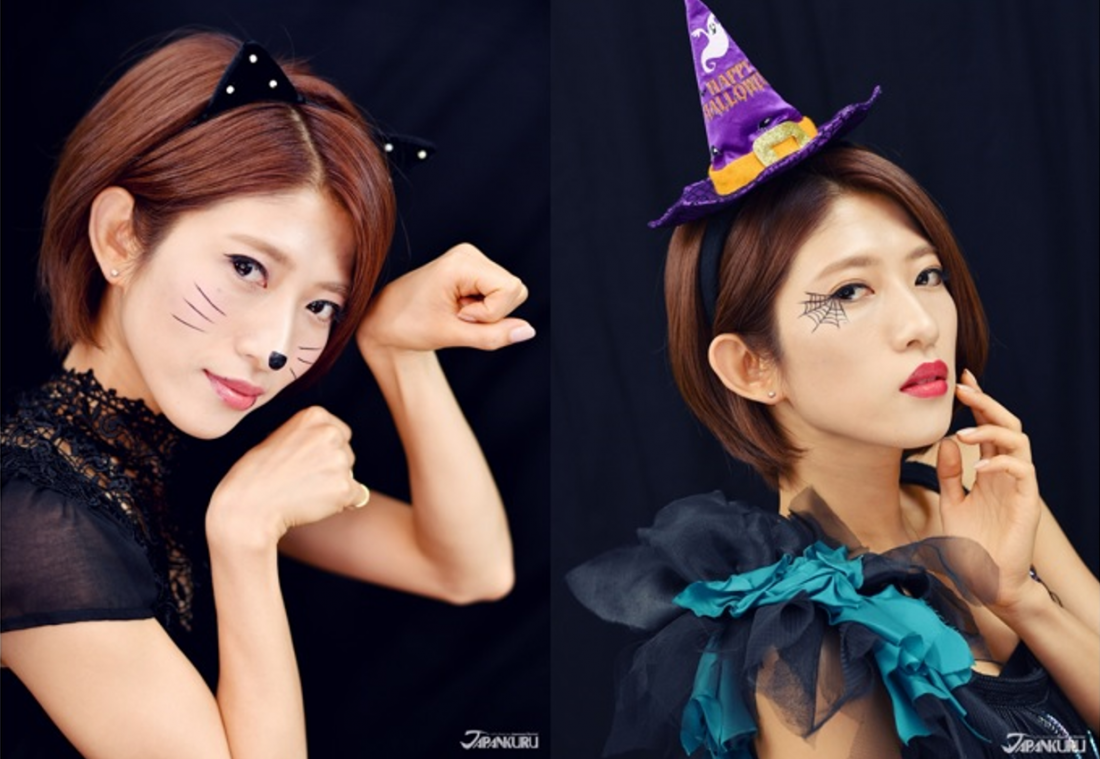
- Style 1 (LEFT) - Cute Cat Makeup 💀 Style 2 (RIGHT) - Captivating Witch

For the base foundation, the cat and witch looks are the same so we'll explain it together as one!
First thing you do use the base and foundation to create skin tone covering any imperfections.

-

① Base -
SECRET SKIN CC BASE ZERO
Shade: EX-2
KATE Foundation Page (English)
-
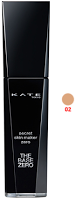
② Foundation -
SECRET SKIN MAKER ZERO (LIQUID)
Shade: 02
KATE SECRET SKIN MAKER ZERO (English)


-
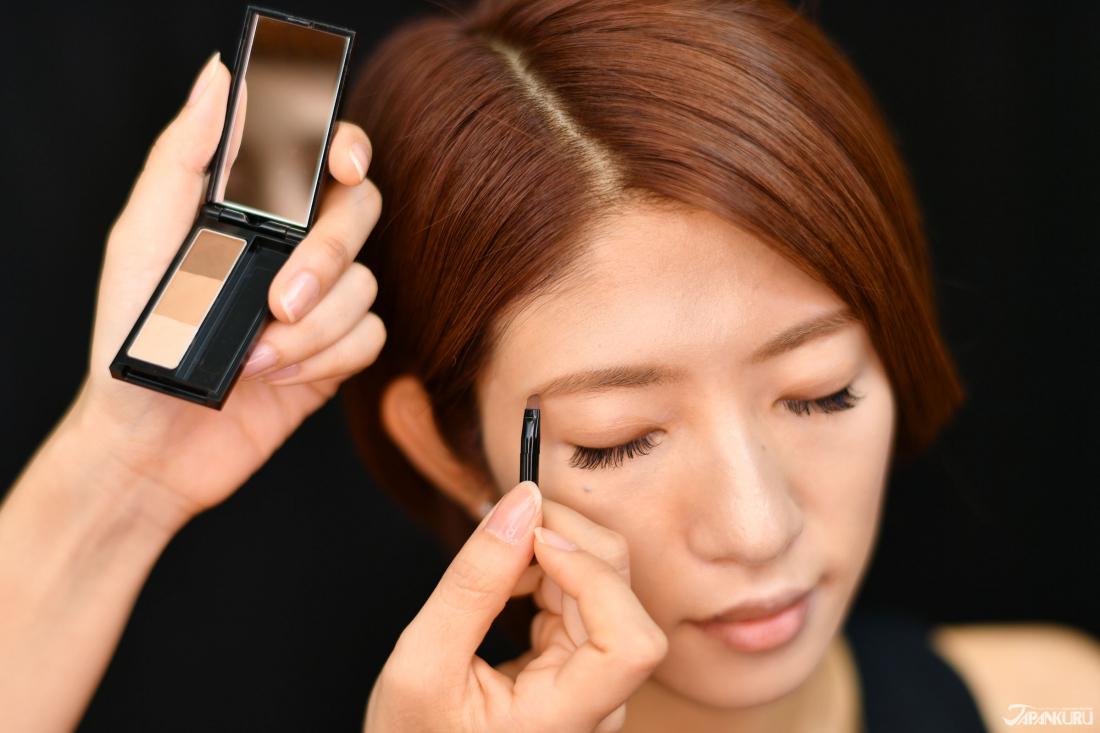
- Firstly, using the eyebrow powder DESIGNING EYEBROW N 3D/EX-4, outline and fill in your eyebrows for the desired shape.
-
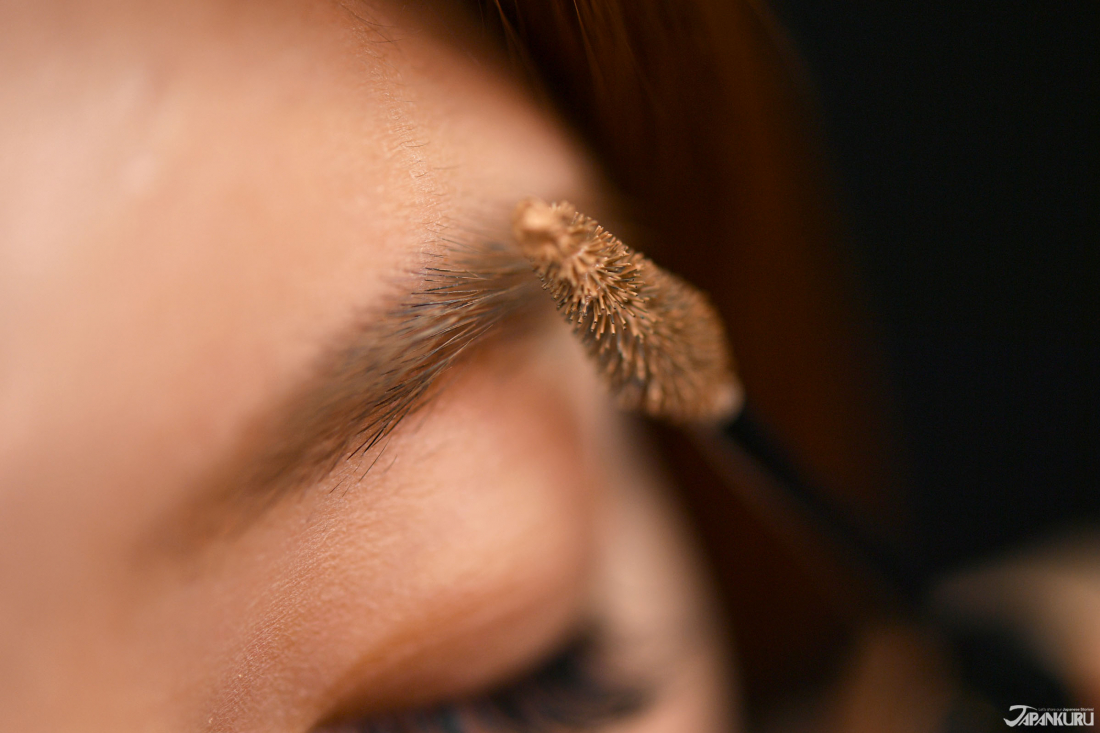
- Then with the 3D EYEBROW COLOR/BR-2 color in and highlight your brows with the natural brown color. To achieve a natural lift, using the spoolie, sweep the desired amount through your eyebrows in an upward motion. This grooming technique will showcase your arches and really work to best frame your eyes!


-

① Eyebrow Powder -
DESIGNING EYEBROW N 3D
Color: EX-4
KATE Eyeshadow Page (English)
-
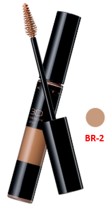
② Eyebrow Mascara -
3D EYEBROW COLOR
Color: BR-2
KATE Eyeshadow Page (English)


-
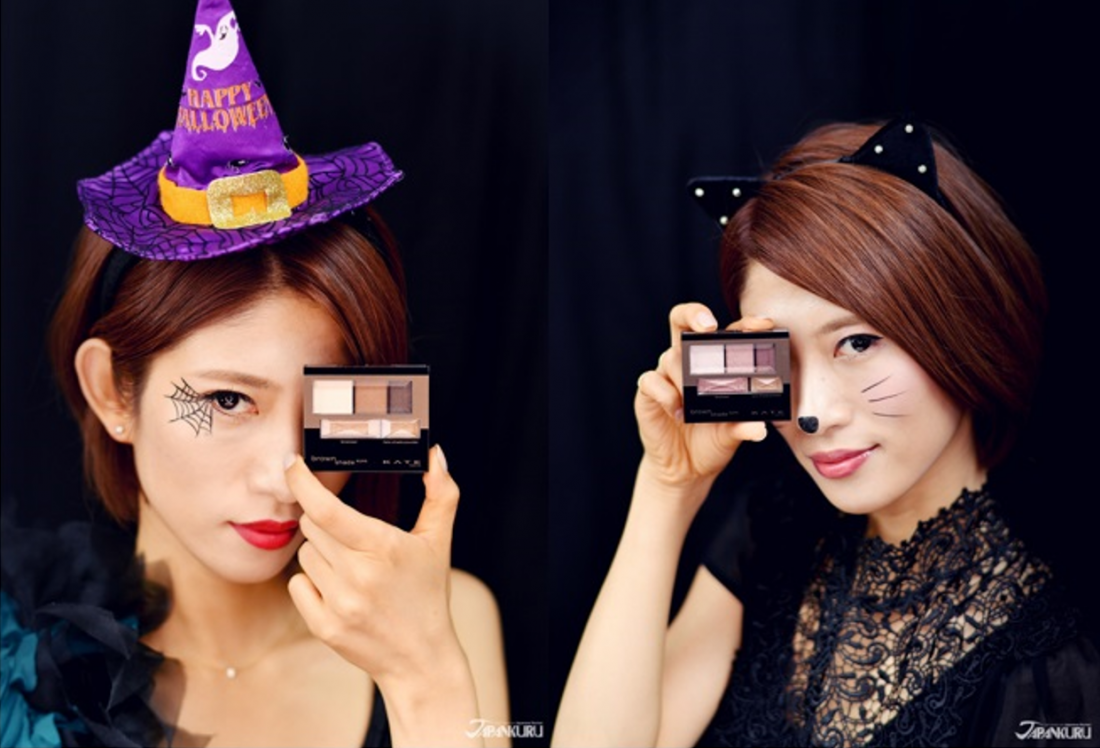
- Get the Captivating Witch (left) and Cute Cat (right) look with KATE's new BROWN SHADE EYES N
- For your the makeup, we used KATE's newest item, BROWN SHADE EYES N/BR-6 and BR-3 that allows 2 different styles and charms. The colors may be different, but the application process is the same. So we're going to explain them together as one.

-
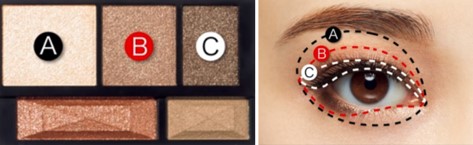
- Step 1: Graduation in A, B, and C Order
Coat eyelid in A, B, C order and deepen it with a smoky graduation effect.
⁂Explained with color BR-6 palate used for witch makeup
- Step 1: Graduation in A, B, and C Order
-
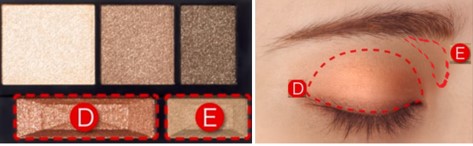
- Step 2: Apply Color E above the Inner Corner Eye, Then Finish with Color D
Then add shadow (color E) to the little pocket above the inner corner eye (along the brow bone). Finally add shininess to the eye lid with D color!
- Step 2: Apply Color E above the Inner Corner Eye, Then Finish with Color D


STYLE 1 - Cat Makeup
The most important parts of the cat makeup are the whiskers and nose!
Let's draw some cute lines using KATE's Super Sharp Liner EX/BK-1.
-
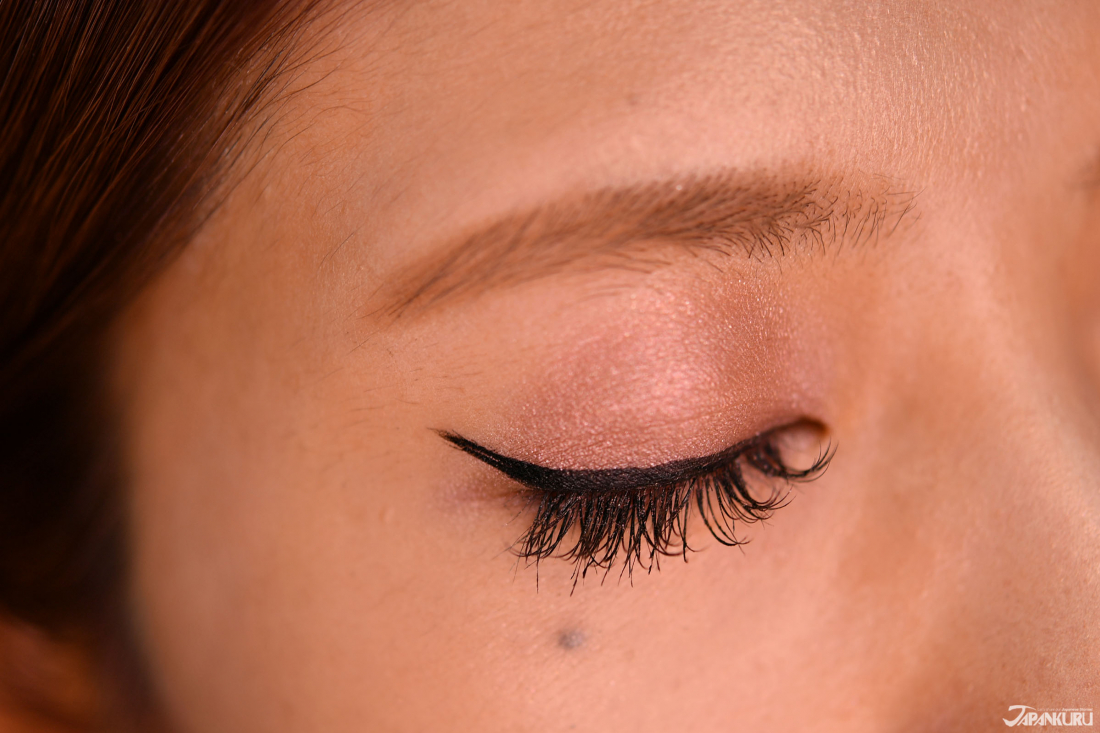
- First you draw a thin line along your existing upper lash line. Then as you get towards the outer v (outer corner of your eye), swoop up making a lil tail flick.
-
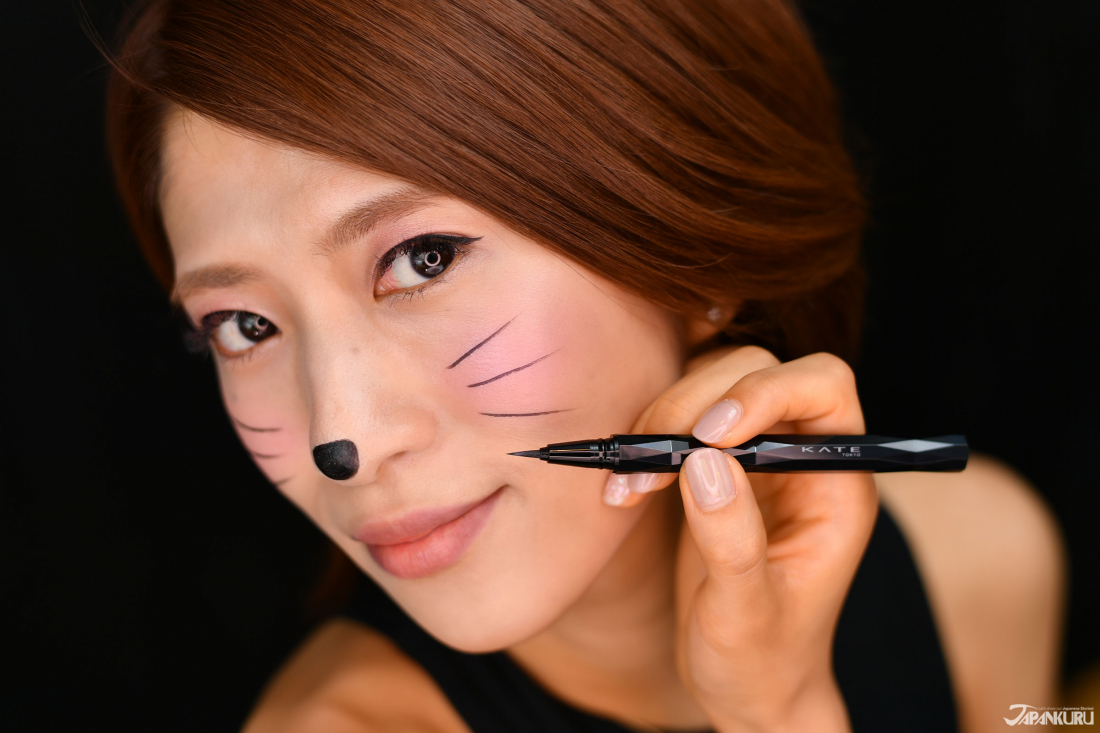
- The next part is very important to the look! Draw on 3 whiskers on each side, then color the tip of your nose making the cat's nose.


For the witch makeup, turn your eyeliner into a spider web!
Rather than drawing one on both eyes, you get a bigger effect if you just draw one on one eye.
-
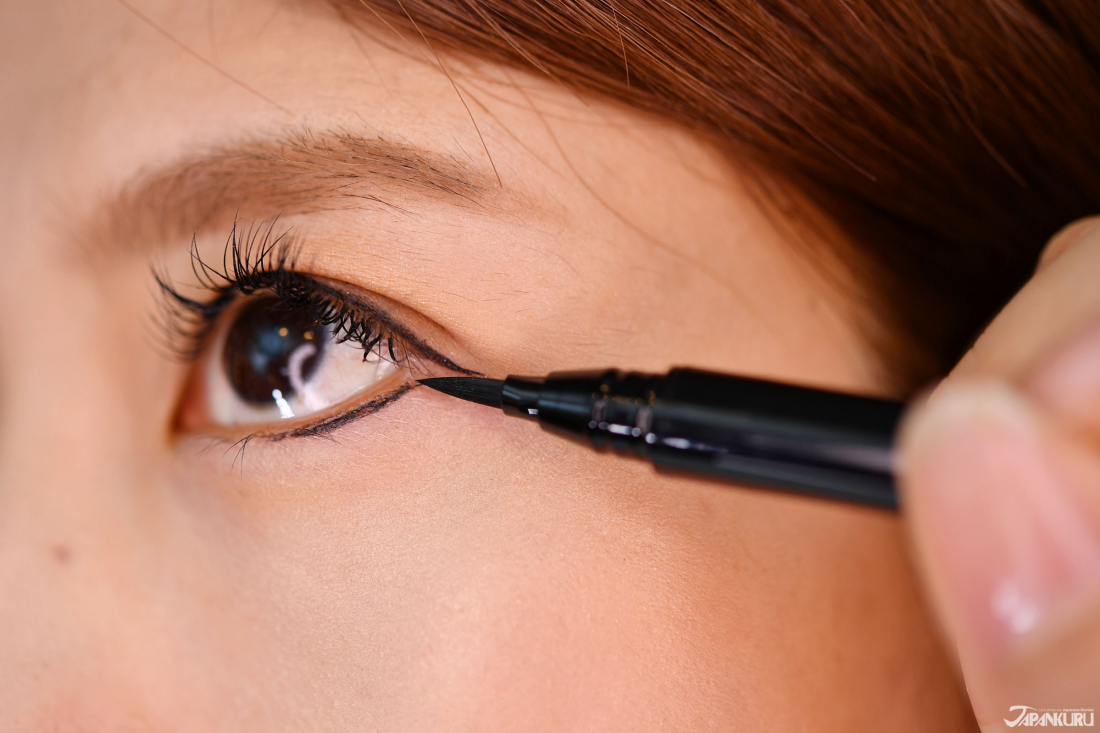
- First thing you do is draw a thin line going upwards close to the lower lash line.
- First thing you do is draw a thin line going upwards close to the lower lash line.
-

- Starting from the outer v of your eye, draw 3 lines going diagonally up, out, and down. Then connect those three lines with swooped lines making a web.
-
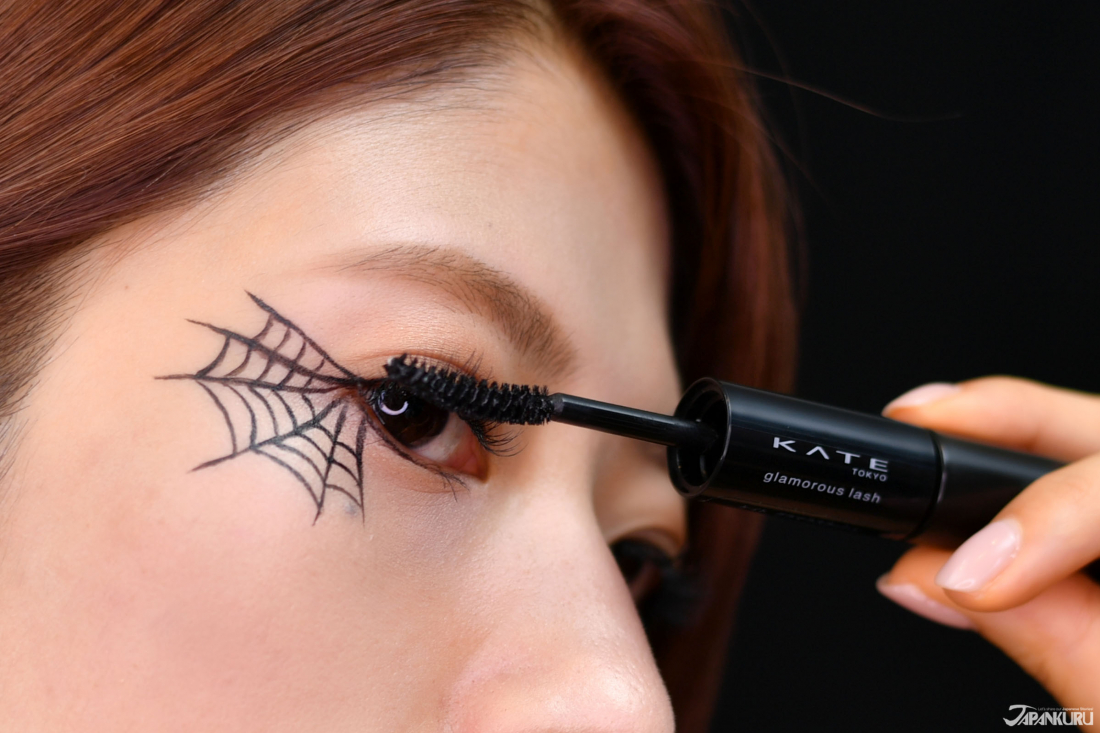
- For both styles, when you're done with your eyeliner apply a good amount of mascara to top off your eyes!


-

① Eyeliner
SUPER SHARP LINER EX
Color: BK-1
Super Sharp Liner EX (English)
-
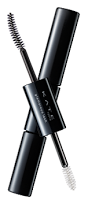
② Mascara
GLAMOROUS LASH
Color: BK-1
KATE Mascara (English)


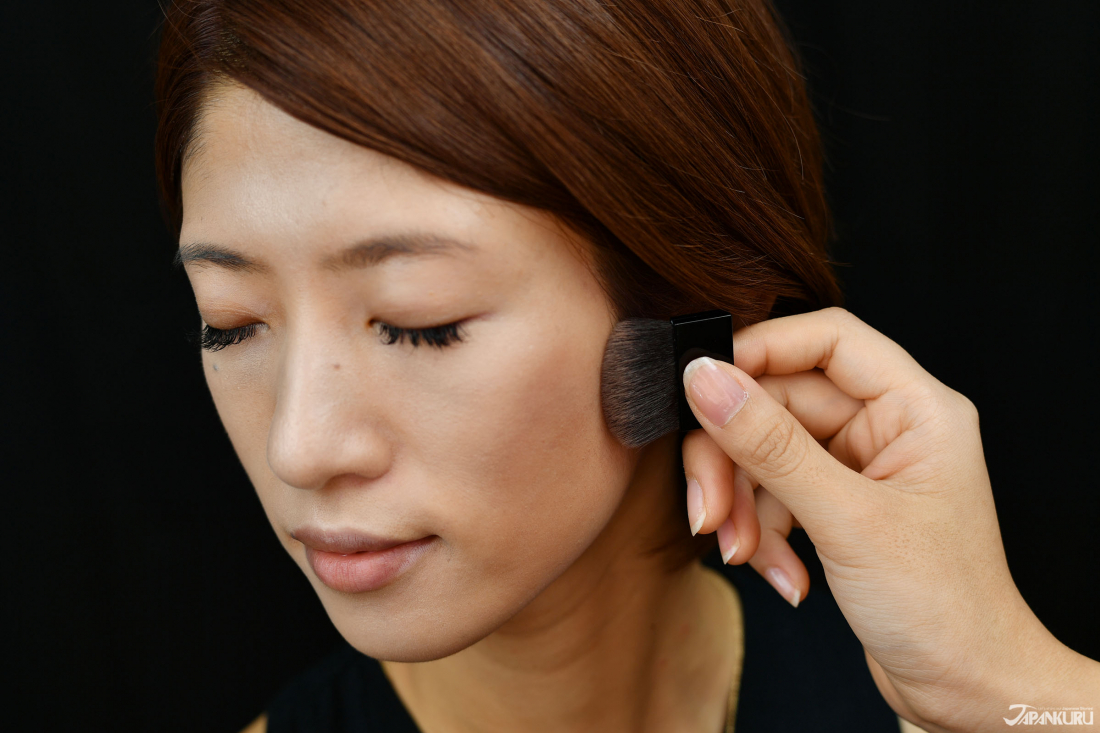
- OPEN BRUSH for HIGHLIGHT CLOSE BRUSH for ADDED PINK COLOR
STYLE 1 - CAT MAKEUP
・With the brush opened, you're going to start with the shiny color as a base. Then apply highlighter to draw oblique shine from the temple towards the center of the face (going down towards the face).
・Hold both sides of the brush and bring them together to be shut closed. With the brush closed, move the B color (blush) in the opposite direction you did with the highlighter. Starting at your apples or wherever works best for your face shape, move up towards your hairline.
-
- To pull off the alluring and cool face of a witch, it's important to emphasize your facial bone structure, not the cheeks, with shading and highlighting. A convenient item that contains what you need for a perfect contour is KATE's Slim Create Powder N/EX-2.
- To pull off the alluring and cool face of a witch, it's important to emphasize your facial bone structure, not the cheeks, with shading and highlighting. A convenient item that contains what you need for a perfect contour is KATE's Slim Create Powder N/EX-2.
-
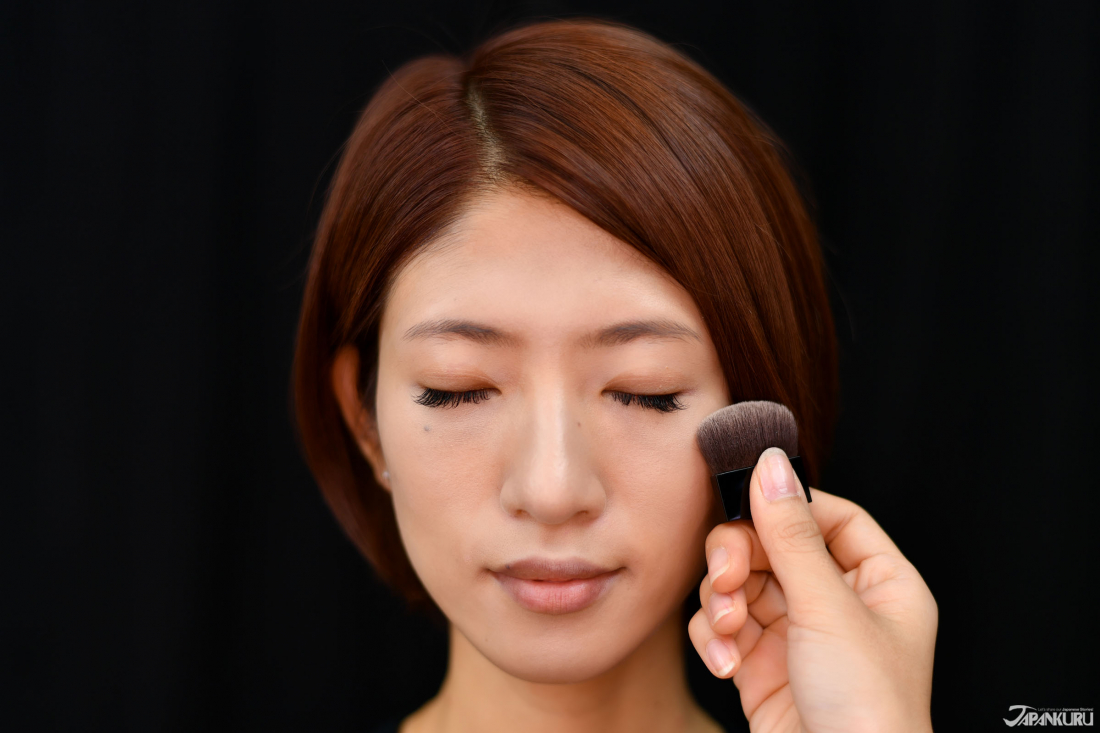
Next, take the highlighter on the brush, and use it to highlight the T zone, the under eye area, and the middle of the chin~~ then you're finished! Your 3D sculpted face is complete!


-
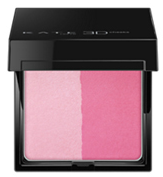
① Blush
3D CONTRASTING CHEEKS
Shade: PK-1
KATE Cheeks (English)
-

② Contour Palette
SLIM CREATE POWDER N
Shade: EX-2
KATE Cheeks (English)


STYLE 1: Cat Makeup
-

- We used two different things for the cat makeup lip. First, a tinted lip cream stick is applied to the entire lip. The limited color item (SATAN PINK - BK) used this time look like black lip balm, but when applied your lips changes to pink!
-
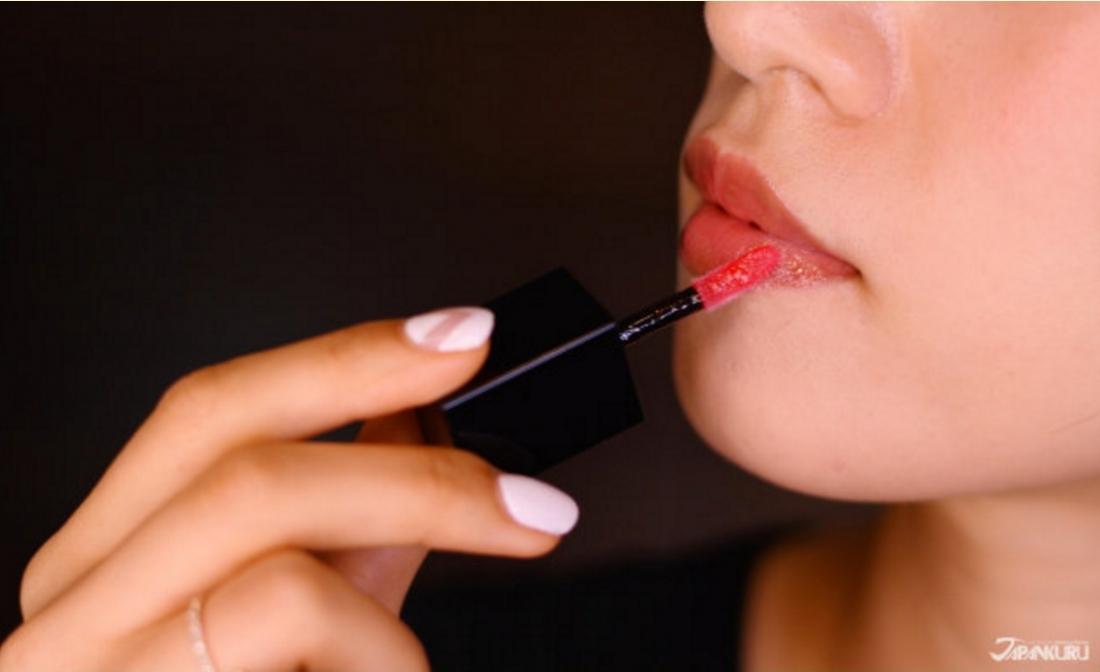
- We then applied the CC Lip Oil ontop.


-

- Using Kate's COLOR HIGH VISION ROUGE - RD-1, use it as a liner and outline your lips and adjust the lip volume.
-

- After that, fill in your lips with color to get a more beautiful red lip. Rather than using glossy lipstick, you can create the perfect witch look with a matte red lipstick


-
*Used for Cat Makeup*
① CC LIP CREAM N (TINT)
Shade: BK
KATE CC Series (English)
-

② Lip oil
CC LIP OIL
Shade: BK-1
KATE CC Series (English)
-
*Used for Witch Makeup*
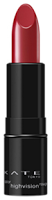
③ Lipstick
COLOR HIGHVISION ROUGE
Shade: RD-1
KATE Lips (English)


-

- Together with KATE, taking a trip to tell you about Japan's trends! This time commemorating the worldwide event Halloween, we focused on the trend of Halloween makeup, costumes, and Japanese Halloween culture.
Do you have a favorite Halloween look?
We wanna hear about it!
✧˖°Share your stories with us°˖✧
For more interesting topics,
Please click here → JAPANKURU to check out our official blog
Be sure to look at JAPANKURU🐶 for more exciting articles every day!!
Or add us on Pinterest and/or Google+ to share your Japanese stories💖🗾
- Together with KATE, taking a trip to tell you about Japan's trends! This time commemorating the worldwide event Halloween, we focused on the trend of Halloween makeup, costumes, and Japanese Halloween culture.


- Basic Info
-
Name KATE Website http://www.kate-global.net/en/index.html
- Related Article
-